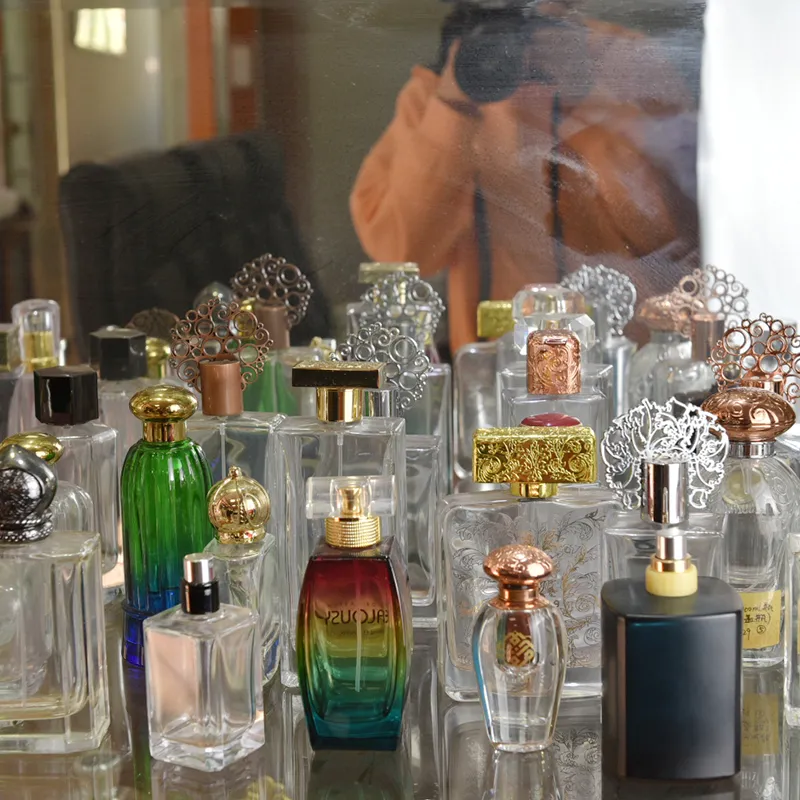
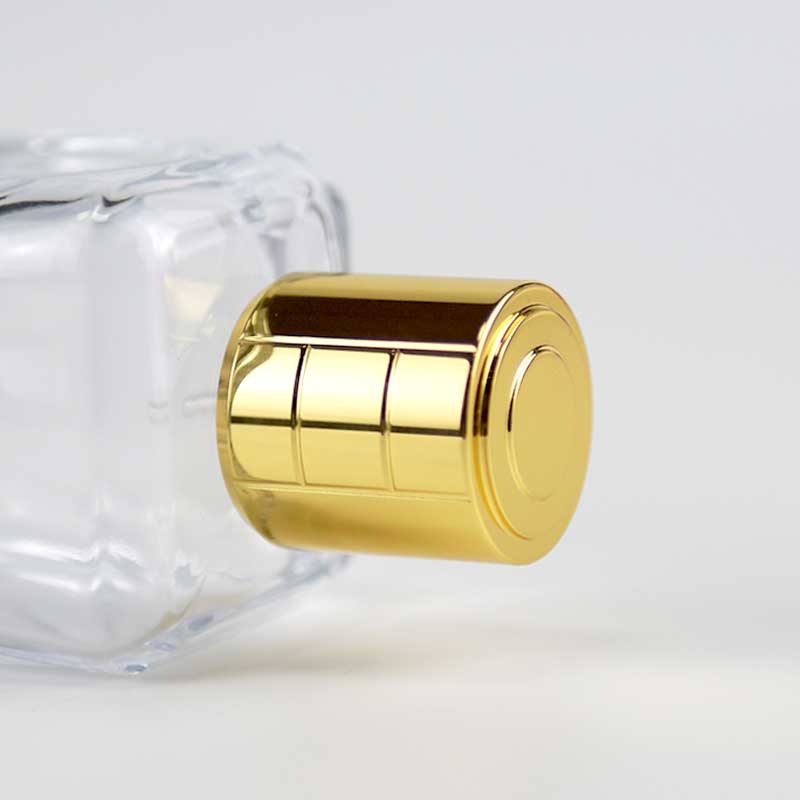
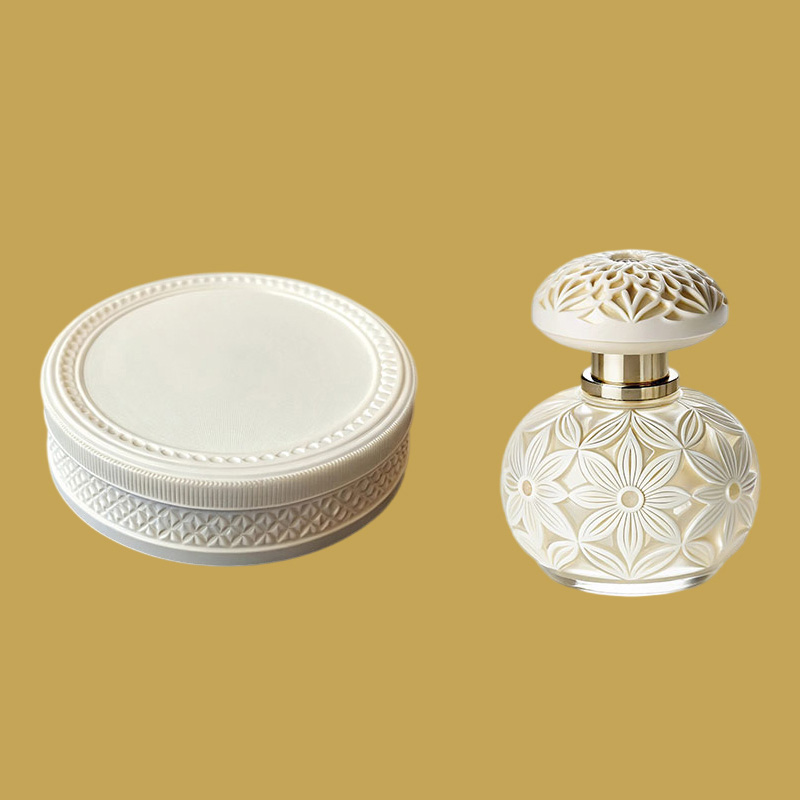
By the second or third production batch of perfume caps, the plated parts come off the line looking fine, then the surface starts to blister not long after. One phone call goes to the die casting factory, and the reply is, “The plating was poorly done.” Then the plating shop says, “The die castings already had porosity. It has nothing to do with us.” Both sides sound plausible, and neither accepts responsibility.
When that happens, people who do not know the process usually end up stuck in the middle while both sides shift the blame. For blistering, both die casting and plating can create hidden risks. But the blister shape, location, and batch distribution are not the same. Once the evidence is laid out, the responsible side becomes clear—if you know which details to check.
What the Blisters Look Like—Appearance Is the First Step in Assigning Responsibility
When blistered parts arrive, do not start arguing right away. First, take a magnifier and look closely at the blisters.
The blister itself carries useful information. Blisters caused by die casting are usually more raised, with thicker blister walls. They often appear where wall thickness changes—such as the corner between the top surface and side wall of a Perfume Cap, or at the root of internal ribs. After the blister breaks, the exposed area underneath shows a gray-white zinc alloy substrate with a sponge-like or dendritic structure. That is a sign that gas was trapped under the skin during die casting. Plating-related blisters are the opposite. They are often flatter, denser, and thinner-walled, with a more even distribution. After rupture, the plating layers separate, while the substrate underneath remains smooth.
The time factor also helps. True blistering caused by poor plating adhesion usually appears within 24 to 72 hours after plating. In some cases, it breaks out after salt spray testing. If outgoing inspection was normal and the blistering only appeared after the shipment reached you, first suspect high heat and humidity in the ocean container or failure of the assembly adhesive. That is false blistering, and it is not a plating defect. The 72-hour cutoff is an industry rule of thumb, not a hard standard limit, but it is very effective in real troubleshooting.
There is also a more direct screening method. Cut a crosshatch at the blister edge with a utility knife, apply tape, and pull it off sharply. If the entire plated layer peels away and exposes a gray-white zinc surface, it is true blistering. If only the topcoat or clear lacquer peels off and the nickel-chrome layer underneath is still bright, it is false blistering. This criterion comes from an extended industry use of the crosshatch adhesion methods in ASTM B571 and GB/T 9286. The standards themselves test adhesion, but the trade widely uses them to distinguish true blistering from false blistering.
Hidden Risks from Die Casting: Subsurface Porosity and Cold Shuts
The biggest die casting issue is subsurface porosity.
In hot-chamber zinc alloy die casting, molten zinc is usually controlled at 415-430 °C, and mold temperature is kept at 150-220 °C. Filling speed is extremely high. Air entrained by the molten metal in the mold, along with vapor from release agent moisture, can be sealed by the rapidly chilled skin and frozen at a depth of 0.1-0.5 mm below the surface. That is a subsurface blowhole—an internal void formed when molten metal traps gas during die casting. Before plating, the surface may look intact. But once the part is heated in the nickel or chrome plating bath, the gas in the pore expands and pushes the plating up into a blister. In the industry, this is called outgassing.
There is also a gray area in the process chain. Die-cast parts naturally constitute a dense skin layer—a compact, fine-grain layer created by rapid cooling at the surface in the mold. If polishing is too aggressive and grinds through that skin, the porous zone underneath becomes exposed. Once the plating solution penetrates it, later heating will cause blistering. Is that the fault of die casting or plating? It belongs to the intermediate polishing step, but the root cause is still the porosity level of the die casting itself.
Cold shut is another die casting risk, and it is more concealed than porosity. A cold shut is a seam formed when two metal flow fronts meet at too low a temperature and fail to fuse fully. The surface may look covered, but there is actually a gap underneath. These parts can sometimes pass with spray coating or paint, but they blister once plated. There is a common understanding in the trade—a die casting that is good enough for paint is not always good enough for plating.
Material selection also matters. The industry average plating yield for zinc alloy die castings is 70-85%, which is 15-20 percentage points lower than for copper parts. One reason is that zinc alloy is a more reactive substrate. Even within zinc alloys, Zamak 3 keeps copper content below 0.1%, so the displacement reaction during plating is more stable and the coating adhesion is better. Zamak 5 contains about 1% copper. In that alloy, copper segregates into copper-rich phases inside the zinc matrix. During acid activation, those phases form micro-galvanic cells that accelerate localized corrosion of the substrate, and plating adhesion drops significantly. Under ASTM B86-18, both alloys keep lead below 0.005%, so the main difference in plateability between Zamak 3 and Zamak 5 is copper—not lead, despite what some veteran operators say. Excess lead only becomes a separate risk when low-end recycled feedstock or zinc ingots of unknown origin are used.
Hidden Risks from Plating: Pretreatment and Coating Adhesion
The first rule on the plating side is simple: zinc alloy must have a copper strike. If that step is skipped, blistering becomes very likely.
Zinc is an active metal, with a standard electrode potential of -0.76V. If it goes directly into an acidic nickel bath, a strong displacement reaction occurs. A loose immersion copper or immersion nickel layer forms first on the zinc surface. An immersion deposit is a loose deposit formed when zinc displaces metal ions in the plating bath. Any later deposit sits on top of that unstable layer. The proper sequence is to apply a cyanide copper strike or cyanide-free alkaline copper strike first, forming a dense transition layer, then move to acid copper for buildup, and finally nickel and chrome plating. This copper strike step cannot be skipped. If it is skipped, blistering is not a probability issue. It is a 100% outcome.
The copper strike thickness also matters. ASTM B832 and MIL-C-14550 specify a cyanide copper strike thickness of 0.5-2.0 μm. For zinc die castings, at least 1.0 μm is recommended, and coverage must be complete with no exposed zinc surface. A common problem in the field is that some plating shops shorten copper strike time from 3 minutes to 1 minute to save costs, leaving thickness below 1 μm. Then the acid copper solution penetrates the pores to the zinc substrate. The zinc is attacked by the acid and generates hydrogen gas. Hydrogen pressure pushes the copper layer up into a large blister. When cut open, the copper layer is arched over a large cavity, and the zinc underneath has already been eaten away.
Two more details are often overlooked. The first is live entry, which means the current is switched on before the rack contacts the plating solution. If the rack touches the solution before power is applied, the zinc will sit in the copper salt bath and form a loose displacement copper layer by itself. That layer is false adhesion. No matter how thick the later plating is, it remains unsupported. The second is the acid used for activation. Older processes use dilute sulfuric acid, but sulfuric acid attacks zinc alloy quickly. An extra 30 seconds of immersion can over-etch the surface and create a powdery loose layer. Proper plating shops have moved to fluoride systems such as fluoroboric acid or ammonium bifluoride. These are milder on the alloy and provide built-in corrosion inhibition, with a wider process window. If you ask a plating shop what acid they use for activation and the answer is sulfuric acid, that is a warning sign.
The copper-nickel-chrome plating system is a layered structure, and it is highly sensitive to any missing or weak layer. Decorative chrome is very thin at 0.25-0.5 μm. The nickel layer is the main body at 10-15 μm. The copper strike is the foundation at 1-3 μm. If any one layer fails, the whole plating system becomes unstable. Troubleshooting on the plating side means checking whether each layer is complete, whether thickness is on target, and whether live entry was used.
Three-Step Troubleshooting: Check Location, Cut the Cross-Section, Review the Batches
When blistered parts arrive, do not rush to assign blame. Follow these three steps. In most cases, they will tell you whether the problem belongs to the die casting factory or the plating shop.
Step 1: Check the location and shape
Lay out all blistered parts and take high-resolution photos showing blister locations. If the blisters are concentrated at wall-thickness transitions, such as the corner between the top surface and side wall of the perfume cap or the root of internal ribs, and they are raised high with a sponge-like gray-white zinc surface exposed after rupture, the most likely cause is subsurface porosity from die casting. If the blisters are evenly distributed on flat areas, are flat and dense, and the plating itself separates after rupture, the more likely cause is poor plating adhesion. If blistering only appears at a few rack contact positions while other positions in the same bath are fine, the issue is almost certainly poor rack contact or an error in entry timing at the plating shop.
Step 2: Cut the cross-section
Saw through the center of the blister with a fine saw or wire cutting, then polish the section from 400-grit to 2000-grit abrasive paper. A smartphone with a macro lens is enough for imaging. The layer structure in the section shows exactly where failure occurred. If the blister base shows dendritic features inside the zinc substrate, it is die casting porosity. If the copper layer is intact but arches upward while the zinc surface shows corrosion pits, the problem is poor pretreatment or an overly thick displacement copper layer. If the copper surface is smooth but the nickel layer has separated, activation before nickel plating was insufficient. This is based on shop-floor sectioning experience, not advanced laboratory instrumentation, but it works very well in practice.
Step 3: Review the batches
For castings from the same mold set and the same base batch, do different plating lots show the same blister pattern? If only one plating lot has the problem and other plating lots are normal, the castings themselves did not change, so the issue lies in the plating parameters for that specific lot. If blistering always appears at the same few mold cavities regardless of the plating lot or the plating supplier, the issue is the porosity level of the die castings. Cross-checking across batches is the key step in separating responsibility.
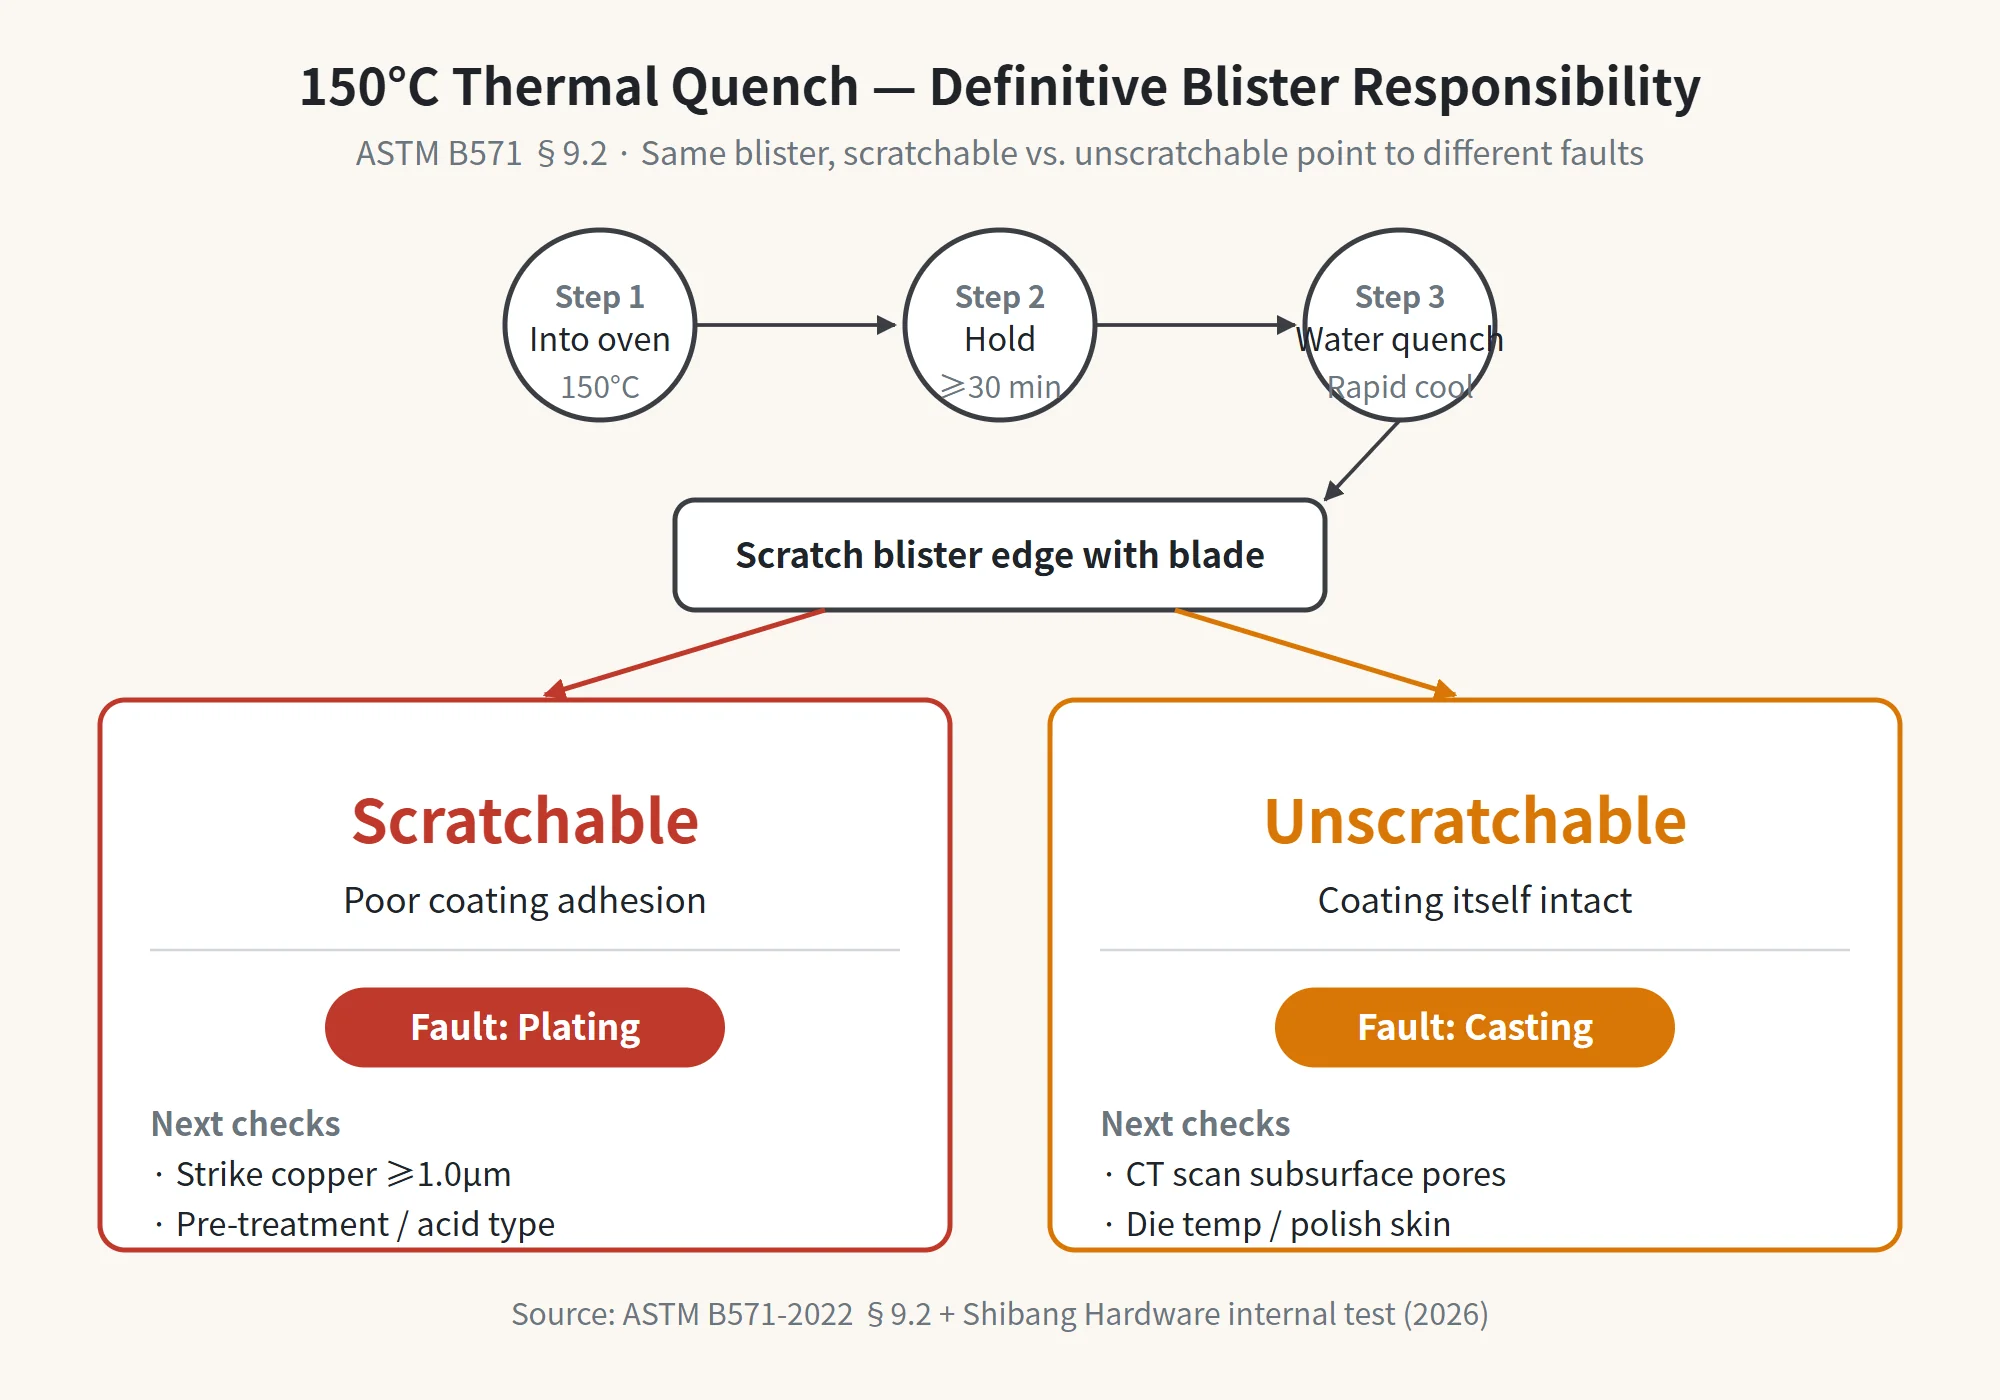
ASTM B571 thermal quench test—the decisive 150 °C criterion
The most decisive criterion is found in ASTM B571. Put the plated parts in an oven, heat to 150 °C (±10 °C), hold at temperature, then remove and water-quench. Check whether the blister swells—but more importantly, use a blade to pry the coating next to the blister:
- If the coating next to the blister can be pried off and peels easily, the fault is on the plating side. The coating itself has poor adhesion, and the root cause is in pretreatment, copper strike, or activation.
- If the coating next to the blister cannot be pried off and still grips the substrate tightly, the fault is on the die casting side. Plating solution trapped in subsurface pores expands when heated and lifts the coating, while the coating itself remains sound.
For the same blister, whether the adjacent coating can or cannot be pried off leads to completely different responsibility. ASTM B571 §9.2 states this clearly: if the coating next to a heat-induced blister cannot be removed, the blister cannot be judged as an adhesion failure.
Quick responsibility checklist for blistering
| Inspection Dimension | Die Casting Side | Plating Side | False Blistering (Non-Plating Issue) |
|---|---|---|---|
| Blister shape | Highly raised, thick blister wall, sponge-like zinc surface exposed after rupture | Flat, dense, plating layers separate after rupture | Topcoat or adhesive layer separates while the nickel-chrome layer remains intact |
| Location | Wall-thickness transitions, internal rib roots, fixed mold cavity positions | Uniformly distributed on flat surfaces, or limited to rack positions in the same bath | Assembly adhesive interfaces or topcoat layers |
| Timing | Within 24-72 hours after plating or after salt spray testing | Within 24-72 hours after plating | Outgoing inspection passes, then blistering appears after 7-15 days in transit to the customer |
| ASTM B571 criterion | Coating next to blister cannot be pried off; substrate porosity | Coating next to blister can be pried off; poor adhesion | No blistering after heating; crosshatch test shows topcoat peeling |
| Next action | Ask the die casting supplier for CT inspection and mold temperature records | Ask the plating shop for copper strike thickness data and pretreatment records | Check transport, storage, or assembly adhesive |
Three Pieces of Evidence to Obtain When Dealing with the Factory
Once responsibility is narrowed down, the discussion with the factory must be based on specific evidence. Saying only “your parts have a problem” is not enough.
First: CT scan report for the die cast parts and furnace-front spectrometer report
Ask the die casting factory to provide a full furnace-front spectrometer analysis for Zamak 3, including Al 4.0-4.3%, Cu ≤ 0.1%, and Pb/Cd/Sn impurities, along with an industrial CT report on internal porosity. Porosity grading can be compared with ASTM E505 reference images. That standard was originally written for aluminum and magnesium alloys, but the zinc die casting trade commonly uses equivalent grading by reference. There is one common trick to watch for: some suppliers only CT-scan selected good parts for staged photos. Require continuous video evidence or third-party witnessing by SGS to make the report credible.
Second: copper strike thickness test and pretreatment process sheet from the plating shop
Ask the plating shop to provide the copper strike process type, whether cyanide copper or cyanide-free alkaline copper, along with a thickness report based on on-site sampling with a coulometric thickness gauge, showing at least 1.0 μm. Also request records showing whether live entry was used. If the shop uses cyanide-free alkaline copper, also ask about wetting behavior. Cyanide-free systems have poorer wetting on zinc alloy, and incomplete coverage is a high-risk source of blistering.
Third: salt spray test report and ASTM B571 thermal quench test results
The salt spray report must clearly state whether the test was neutral salt spray (NSS), acetic acid salt spray (AASS), or copper-accelerated acetic acid salt spray (CASS). Some factories use accelerated tests and present them as neutral salt spray. Wbmetal can achieve Grade 10 after 96 hours in neutral salt spray, while the industry norm is only Grade 9 after 48-72 hours. The gap is clear. The ASTM B571 thermal quench test should ideally be run by a third party at the standard temperature of 150 °C. The result points directly to the responsible side.
Before all three pieces of evidence are in hand, do not sign the claim sheet, and do not rush to withhold supplier payment. Arguments without complete evidence are just arguments.
In cases handled by Wbmetal, most disputes can be resolved once these three sets of evidence are in place. In a smaller number of cases, both die casting and plating created hidden risks at the same time. Those mixed-responsibility cases are the easiest to argue over. But with an objective ASTM B571 result as the baseline, at least the outcome is not decided by whoever argues the loudest. If the 150 °C thermal quench test, salt spray test, and CT inspection report are written into the acceptance process for volume orders, the cost of dispute handling drops sharply. Wbmetal produces zinc alloy die-cast perfume cap blanks, and volume production yields for brands such as Mao Geping have remained relatively stable. That stable yield comes from controlling variables one by one, including subsurface porosity, cold shuts, and copper strike thickness.