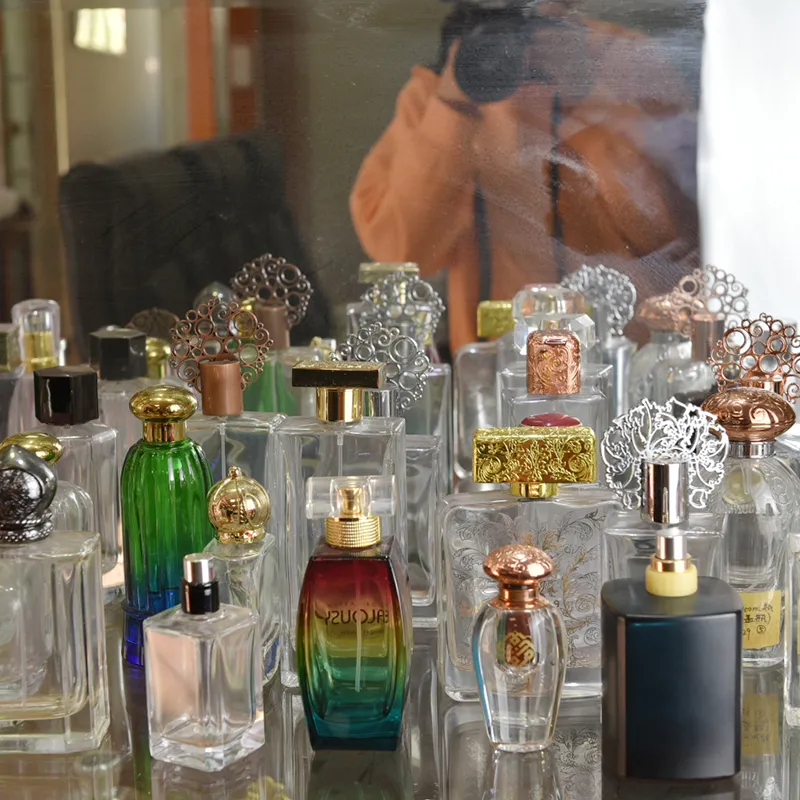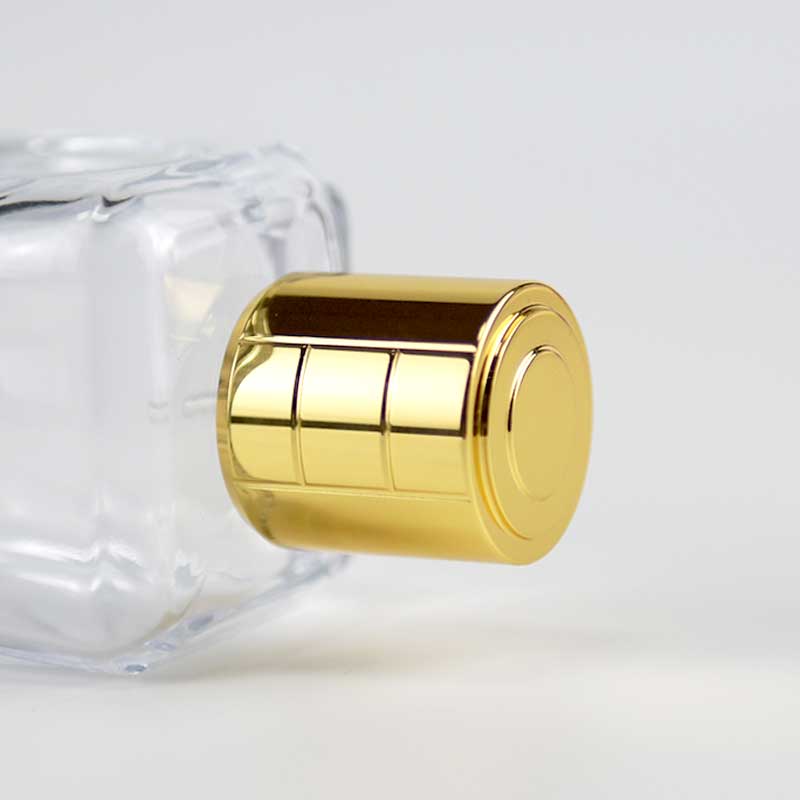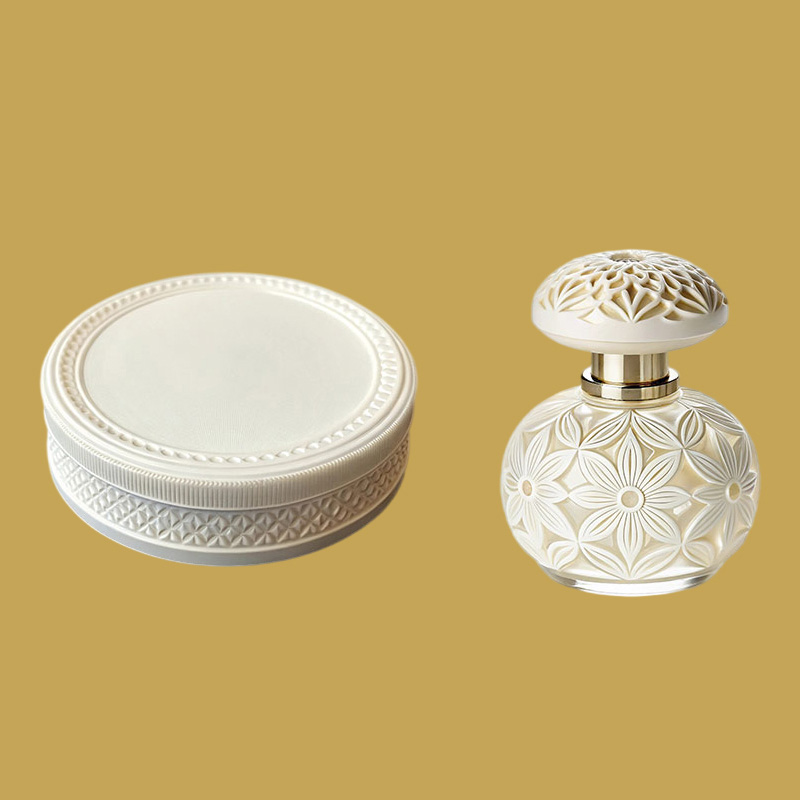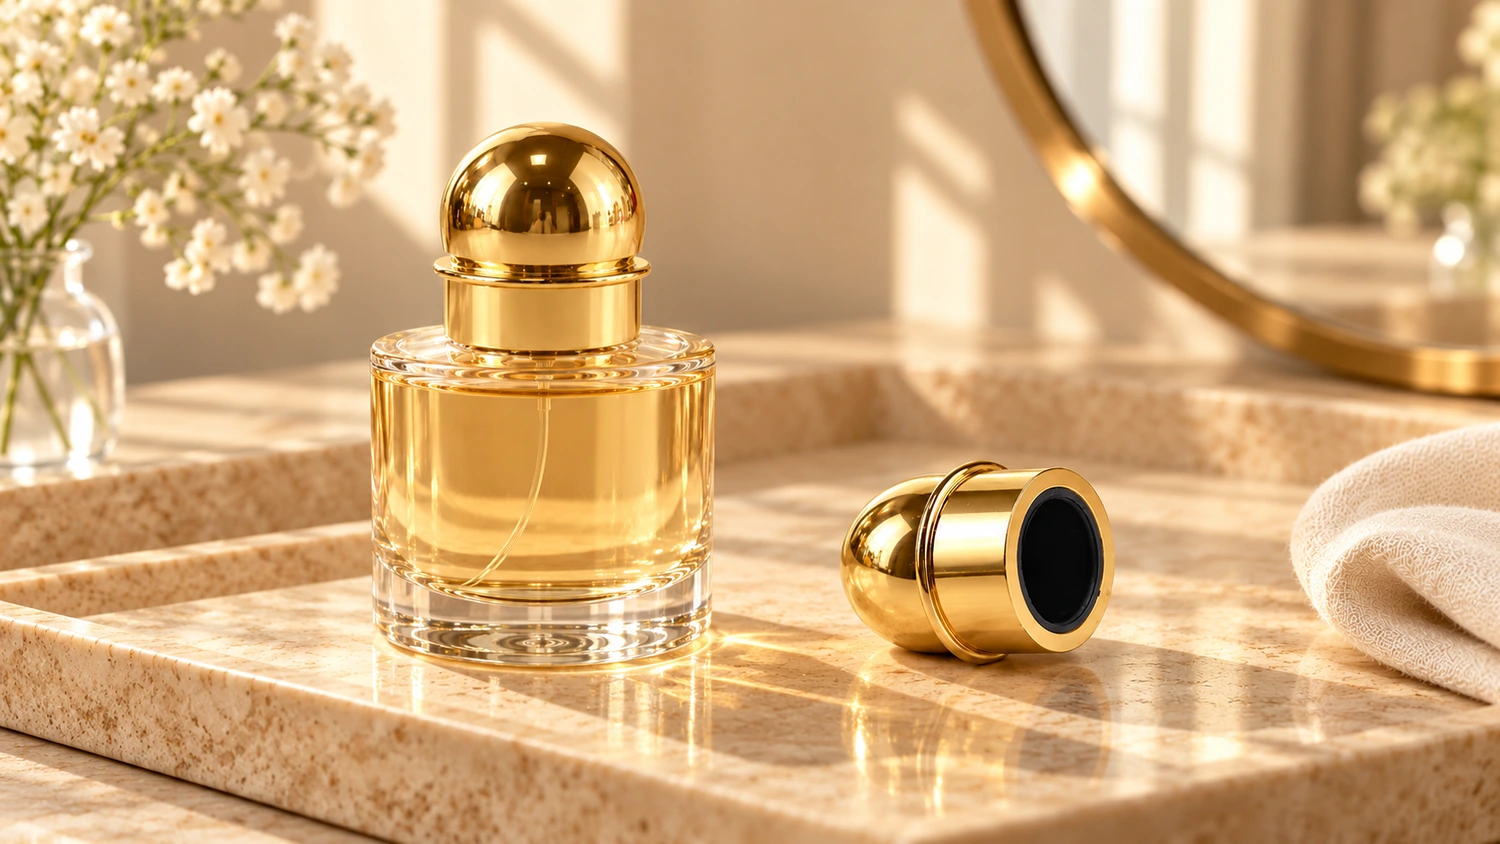
Perfume packaging concept illustration.
When designing perfume packaging, the cap’s dome, facets, weight, and opening and closing feel are all part of the design. Zinc alloy die casting gives the metal body a three-dimensional shape. Different colors, textures, and decorations then create distinctive perfume packaging.
Turning an appearance concept into a physical product requires considering the cap body, internal fit, and surface finish together. Understanding the parts of a cap makes it easier to see how these designs take shape.
How the Metal Shell and Liner Fit Together
A die-cast zinc alloy perfume cap is a metal outer cap for a perfume bottle. Molten zinc alloy is forced into a metal die, where it solidifies to form the cap body. On a spray perfume bottle, the outer cap fits over the spray head. The metal body provides the shape and most of the weight. It can also contain a liner that fits the bottle top.
Wbmetal’s domed perfume cap consists of a Zamak 3 zinc alloy body and a plastic liner. The upright view shows the dome, raised ring, and straight cylindrical lower section. Looking through the opening reveals the black liner.
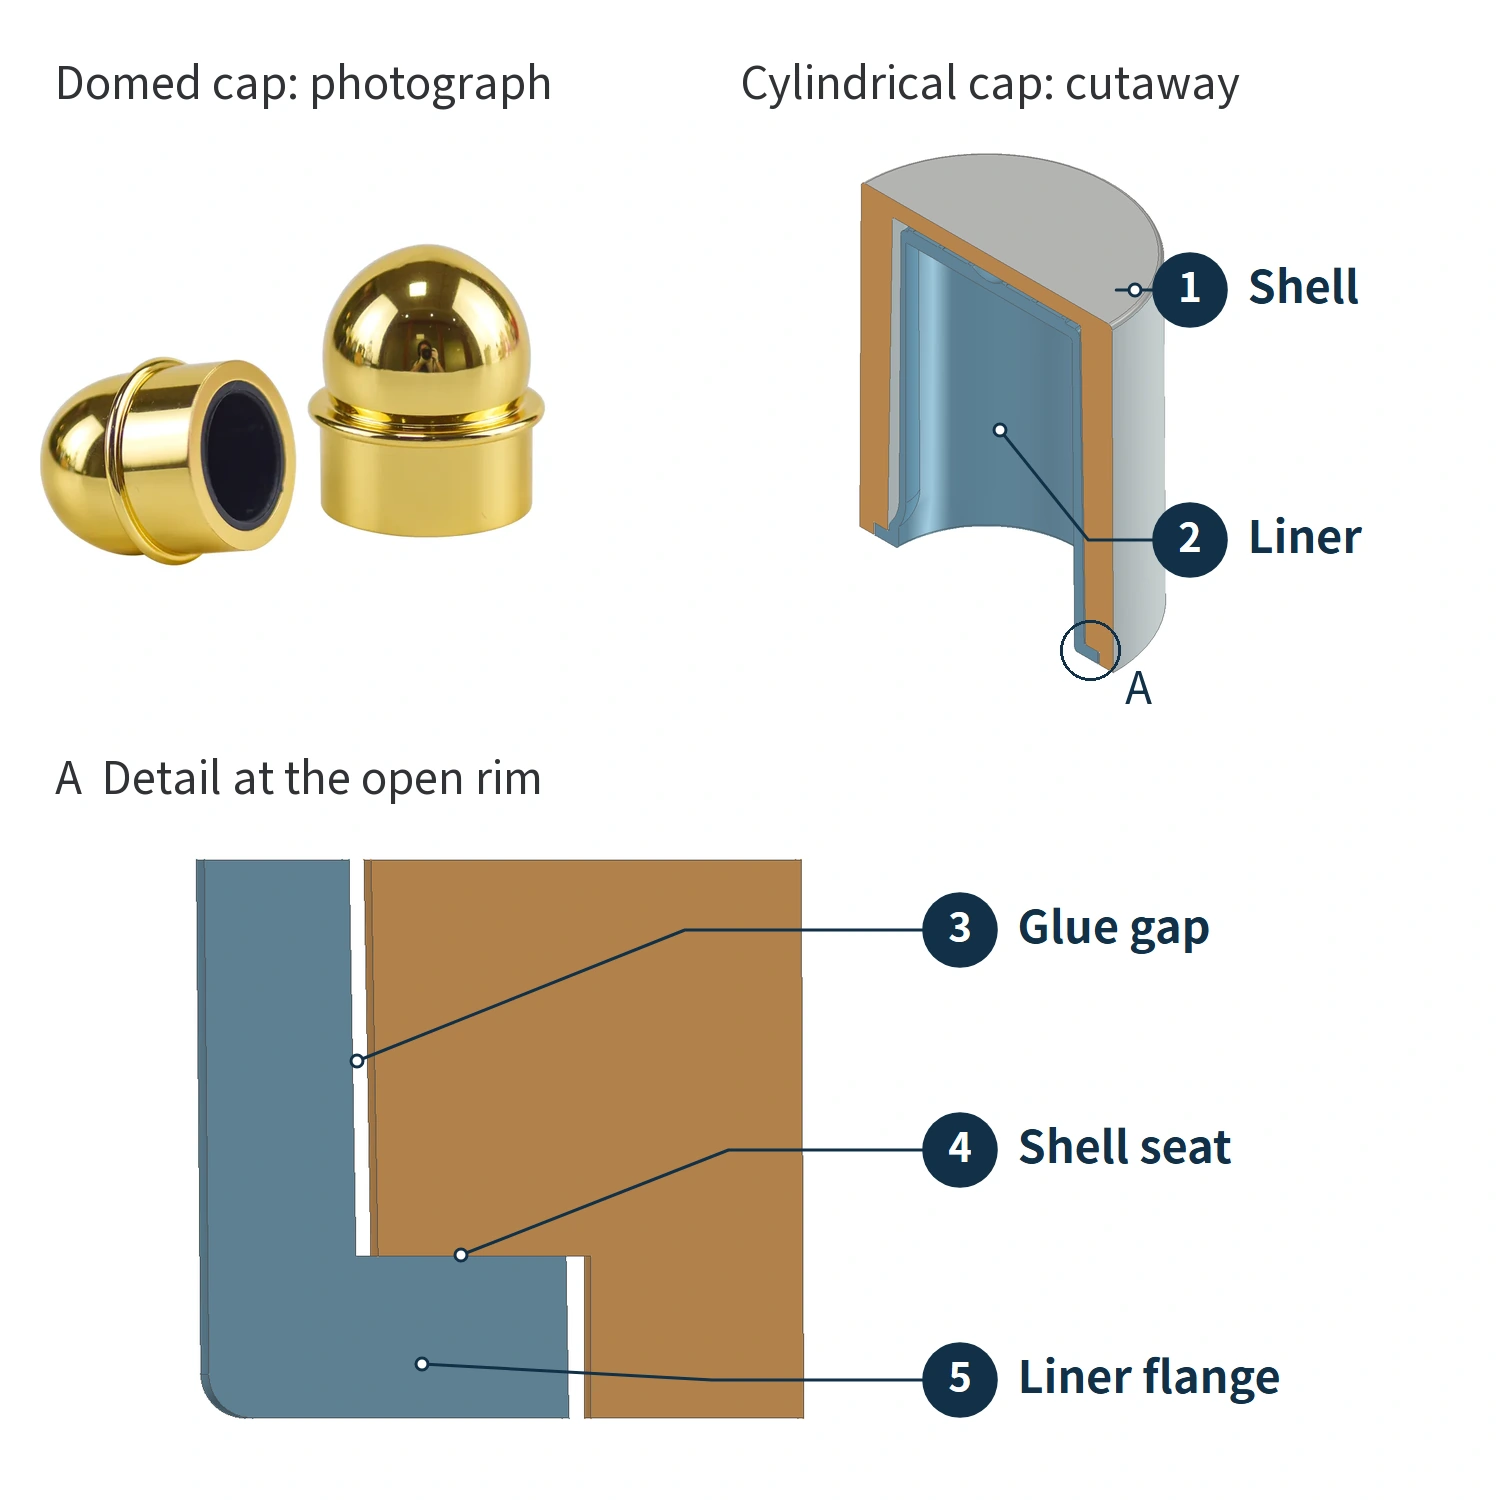
Left: the domed cap in a photograph. Right: an adhesive-bonded cylindrical cap demonstration model and a detail of its open rim.
The liner has two interfaces: its outside attaches to the metal shell, and its inside engages the bottle top. The first lets the shell and liner move together. The second allows the user to put the cap on and pull it off repeatedly.
Wbmetal’s cylindrical cap demonstration model uses an adhesive-bonding design. The liner is inserted through the cap opening. An outward flange at its lower end seats against a shoulder inside the shell to set the insertion position. A gap is left between the side surfaces of the shell and liner for adhesive bonding. Once bonded, pulling on the shell transfers force to the liner. The actual adhesive, surface treatment, and bond strength still need to be confirmed with samples.
For a snap-on outer cap, the liner’s internal retaining feature engages a raised feature on the bottle top. The plastic flexes to form a connection that can be pushed on and pulled off. The tightness of the fit should be checked with the actual bottle-top assembly.
When the pump assembly is mounted on the bottle opening, a gasket can seal the joint between them. The outer cap’s engagement with the bottle top holds the cap in place while allowing it to be removed for use.
Zinc Alloy Composition and Cap Weight
Zinc alloys contain zinc as the main constituent, with other elements added to create different grades. The Zamak 3 used for the domed cap contains about 4% aluminum and a small amount of magnesium, with a specified limit on copper content. The grade identifies the material’s composition. Finished colors such as gold and silver depend on subsequent surface treatments.
The alloy producer’s data list a typical density of 6.6 g/cm³ for this grade. That means 1 cm³ of alloy weighs about 6.6 g. Multiplying the metal volume by its density gives the weight of the metal portion.
A hollow cap can therefore still feel substantial. Outside diameter, height, wall thickness, and internal cavity size together determine the metal volume. Two caps with similar exteriors can have different weights if their internal shapes differ. A plastic liner or other decorative pieces add their own weight. The desired feel should be assessed as part of the complete cap design, rather than by simply making the shell thicker.
How Die Casting Forms the Exterior and Hollow Interior
Zinc alloy cap bodies can be made by hot-chamber die casting. An injection mechanism connected to the molten-alloy bath feeds molten metal into a closed die. Different parts of the die define the cap’s exterior and interior.
The space in the die left for molten metal is called the cavity. In the animation, the forming surface of the gray die defines the cap’s outer profile. The blue core occupies the space inside the cap. Metal solidifies around the core to form the top and sidewall. The space occupied by the core becomes the hollow interior.
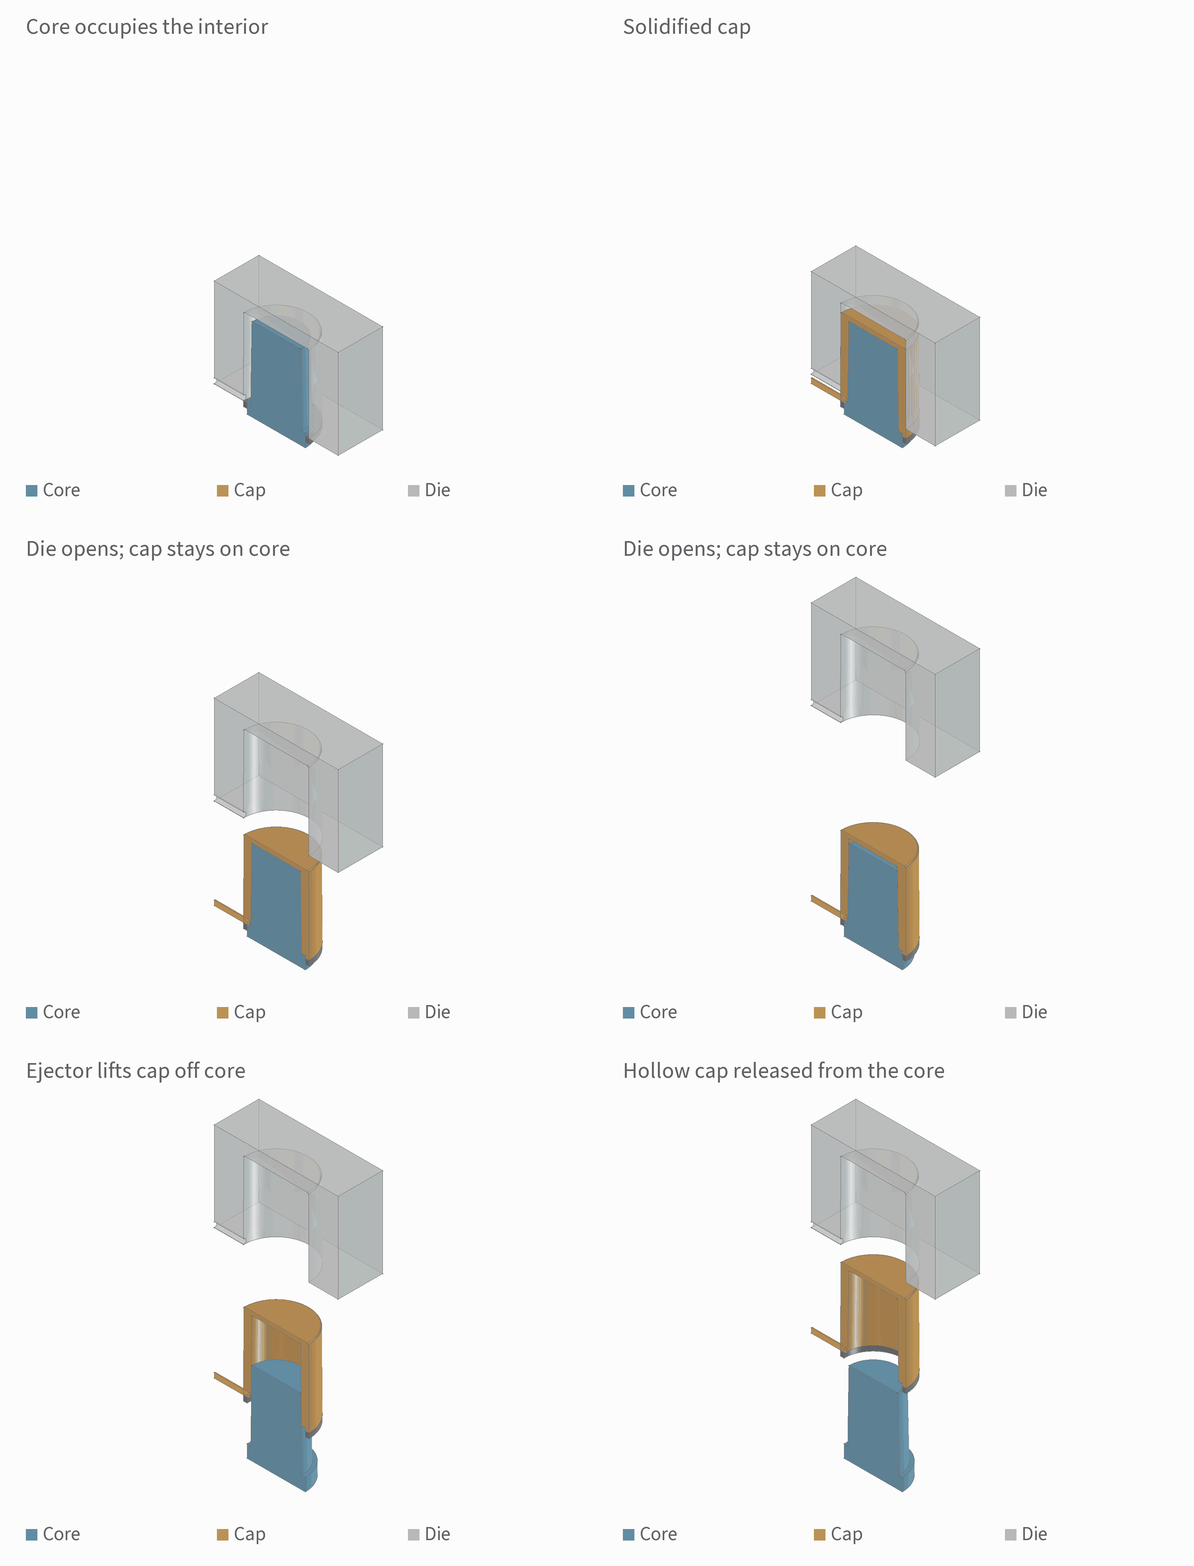
A simplified view of cap formation. Gold identifies the cap body, and the filling sequence shows changes between stages.
Once the metal solidifies, the die opens and the ejector system pushes the casting out. Gate remnants and flash are then removed, leaving a cap body ready for further processing and finishing. The injection mechanism moves molten metal; the ejector system removes a casting that has already solidified.
The design also needs to allow the casting to be removed. If a groove traps the core, the casting cannot be withdrawn in the original direction. The structure needs to change, or a suitable core-pulling arrangement is required. Wall thickness should be as uniform as practical, with transitions where thickness must change. Localized thick sections are more prone to porosity as they solidify and shrink. When increasing cap weight, also account for filling, solidification, and demolding conditions.
From Domes and Facets to Textured Surfaces
Differences between die-cast perfume caps can be understood by looking first at the overall profile, then at surface details. A dome uses a continuous curved surface to create a rounded shape. A faceted cap with a square top and round base combines flat faces and corners that show different areas of light and shade.
Texture can also be concentrated in one area. Wbmetal’s triangular-textured perfume cap has a regular band of raised and recessed features around its middle, with smooth surfaces above and below. The textured band contrasts with the smooth areas. Another cylindrical cap has rhinestone decoration on its sidewall. The highlights come from decorative pieces fitted separately.
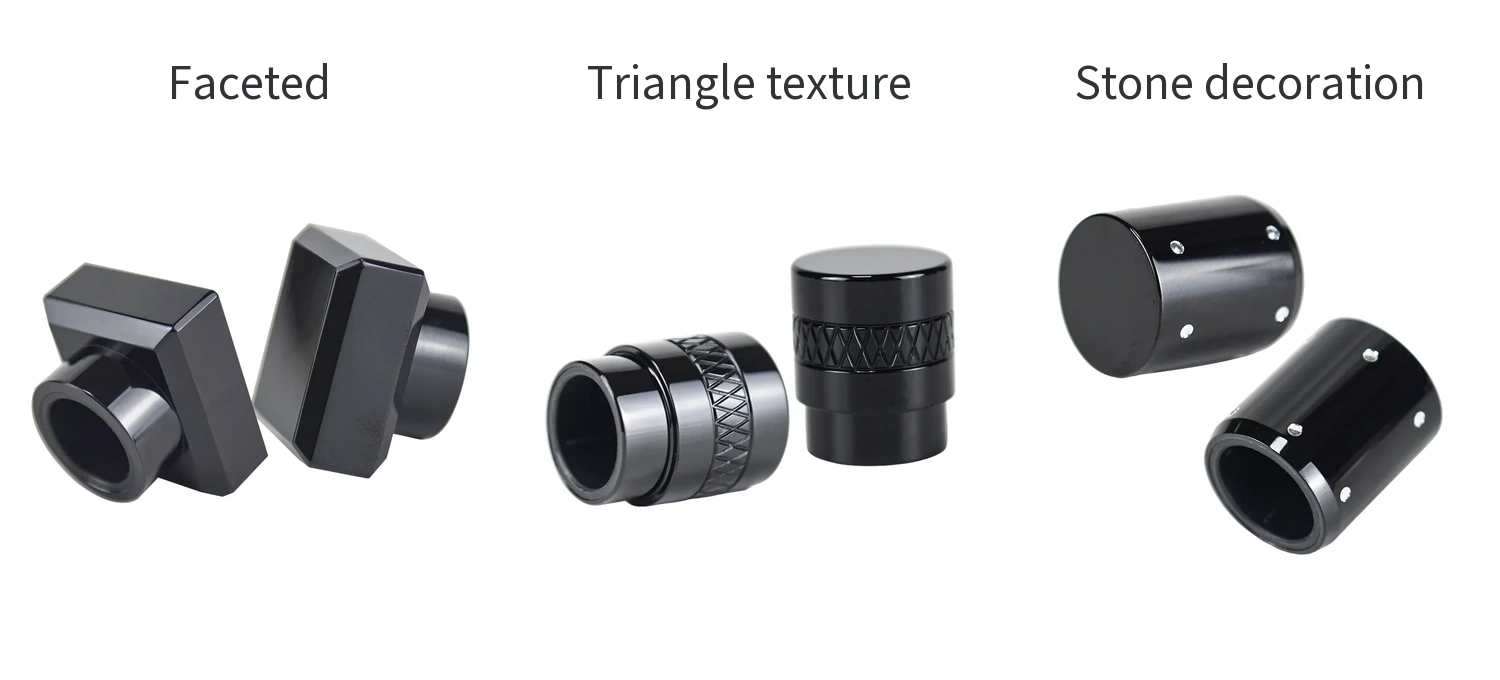
From a manufacturing perspective, raised and recessed details suitable for casting and release can be formed directly on the metal surface by the die. Further processing can be used where needed. The method for a particular facet, hole, or texture depends on its shape. The appearance term “faceted” does not automatically mean that each face is machined after casting.
Branding can also form part of the three-dimensional design. Recessed lettering, raised lettering, and repeating patterns can be formed with the cap body. Their shapes and orientation must allow release from the die and avoid undercuts that hook onto the tooling.
Color, Gloss, and Decorative Combinations
Die casting first forms the cap body. Trimming, polishing, and surface treatments then continue to change its appearance. Trimming removes excess material and flash, while polishing improves the metal substrate’s surface. Electroplating adds a metal layer, and spray coating forms a coating layer on the surface. Wbmetal’s domed cap product page lists electroplating, spray coating, and custom color options.
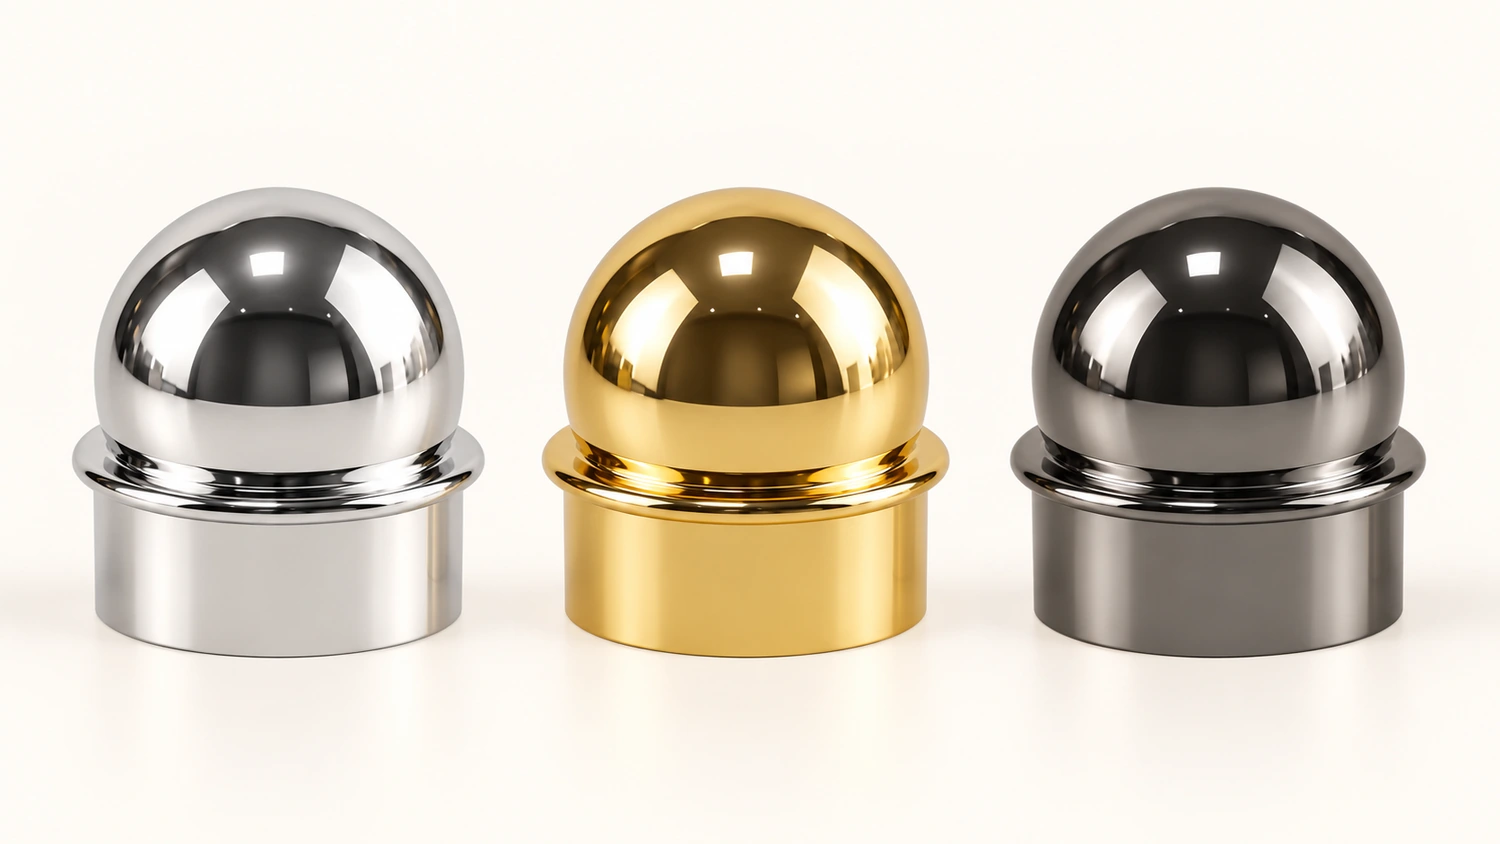
From left to right: bright silver, warm gold, and dark gunmetal. All are design illustrations.
These treatments can give the same cap profile different colors and reflective effects. Glossy surfaces make small irregularities more noticeable, so the substrate’s surface condition matters. The International Zinc Association notes that the surface should be essentially free of defects before decorative plating. The plating layer cannot be expected to correct porosity or every surface problem.
Decorative combinations add another material to the metal cap body. Wbmetal’s metal-and-crystal demonstration model has three separate parts: a faceted crystal element on top, a patterned metal body, and an internal liner. The metal body forms the surrounding profile, the crystal element provides the top decoration, and the liner stays inside the body. Each part has a role in the cap’s appearance or fit.
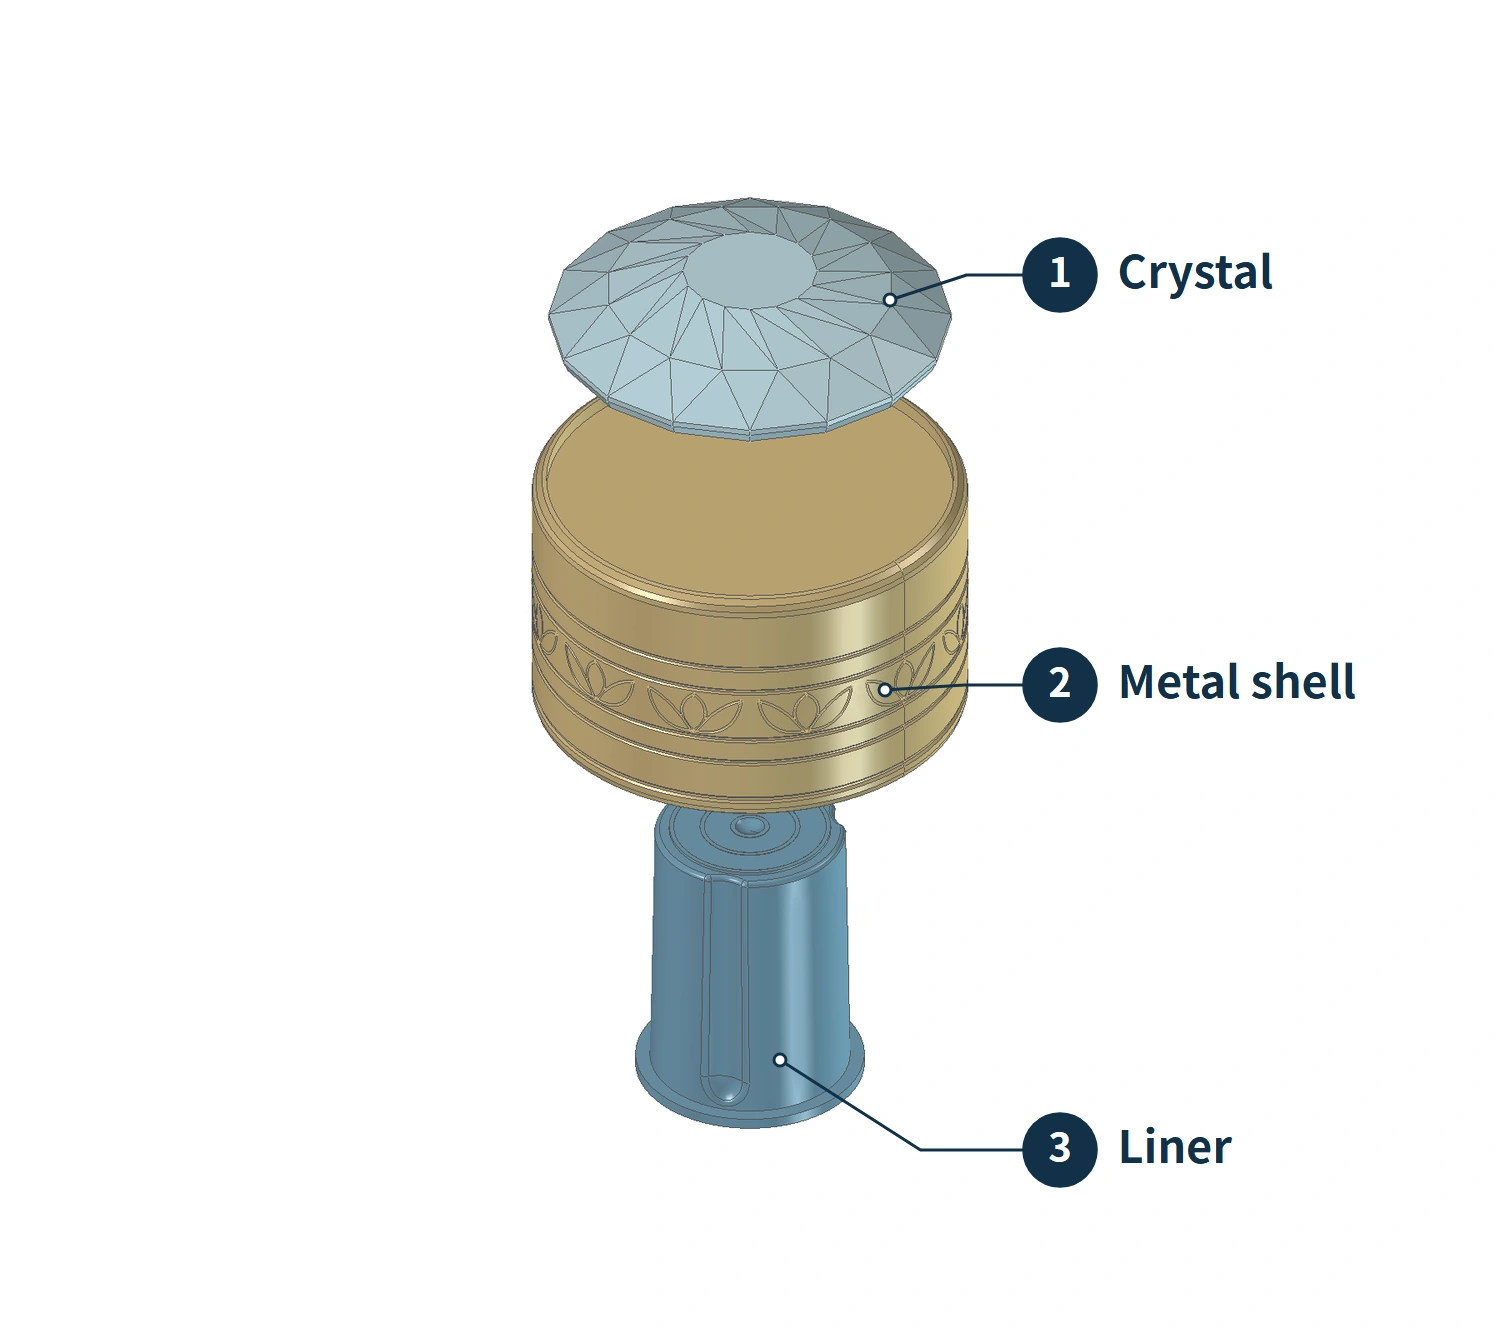
This type of combined design requires planning the decorative element’s mounting position, the adjacent metal geometry, and the assembly method together. The actual materials, joint strength, and finished appearance still need to be verified with samples.
Cap Dimensions Must Match the Bottle-Top Assembly
Perfume cap dimensions affect both the proportions of the bottle and whether the cap can accommodate the parts and close properly. These requirements relate to different locations:
| Dimensional relationship | Parts involved | What to check |
|---|---|---|
| Outside diameter, width, and overall height | Cap relative to the bottle body and shoulder | Whether the overall profile and proportions match the design |
| Available internal diameter and height | Inside of the liner relative to the spray head and collar | Whether there is enough room for the bottle-top parts |
| Attachment and engagement dimensions | Metal shell to liner, and liner to bottle top | Whether the liner is fixed in the correct position and the outer cap goes on and comes off properly |
Bottle capacity does not directly determine these three groups of dimensions. Even with the same nominal bottle-neck size, the interfaces between the pump, decorative collar, and outer cap need to be checked against the actual components. Cap design should use drawings or physical samples of the matching bottle, pump, and collar.
Surface treatments also need to be included in the final fit. Plated and coated layers add thickness. Electroplating can also deposit different amounts on raised and recessed surfaces. If mating surfaces receive these treatments, account for them in the dimensions and trial-fit the complete set of finished components.
From Design Concept to a Complete Sample
Developing a zinc alloy perfume cap can start with the appearance of the whole bottle. Decide on the cap profile, the desired weight, and how its color and branding will work with the bottle. Bring the bottle-top interface into the design at the same time, allowing for the liner, connection points, and spray-head space.
Next, turn the exterior form into a manufacturable structure. Check wall-thickness transitions, release direction, parting locations, and areas that need further processing. After the die produces a raw casting, check its actual dimensions, profile, parting marks, and surface condition. Apply the selected finish, then assemble it with the liner, decorative pieces, and matching bottle-top components for confirmation.
Samples at different stages answer different questions. An appearance model helps assess proportions and decorative positions; a raw die casting allows inspection of the forming result. Only an assembled sample with the final finish brings color, gloss, weight, and cap fit together in one product. Checking these relationships together allows the intended metallic look and the opening and closing feel to come together in the finished product.